How To Install AWS VPN Client for Customers
Go to https://aws.amazon.com/vpn/client-vpn-download/ to download the VPN client
Open AWS_VPN_INSTALL_PACKAGE.zip on the PC
Drag the iMerchant_VPN.ovpn and AWS_VPN_Client.msi on the desktop
Run AWS_VPN_Client.msi installer and follow the prompts to install
Double Click on the new AWS VPN Client icon on the desktop
Click on File > Manage Profiles
Add Profile
Display Name = iMRCHNT VPN (or whatever you’d like to call it)
VPN Configuration File = iMerchant_VPN.ovpn its the other file you dragged onto the desktop
Click on Add Profile
Click on Done
-
Now click on the Connect button and enter in the Active Directory username/pw provided by imrchnt.
This username should not have imerchantcloud\ in front of it as is required in your RDP connection.
You should now be connected
Click on the X button of the AWS VPN Client and the VPN will remain connected in the background.
In order to log off you have to go to the AWS VPN Client Icon in the tray on the bottom right (its the orange hexagon)
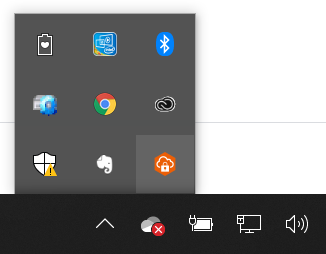
right click and choose to either disconnect or quit.
Delete the two items you dragged onto the desktop.
You’re Done!
Updating Configuration File
To connect using the AWS provided client for macOS
Open the AWS VPN Client app.
Choose File, Manage Profiles.
Choose Add Profile.
For Display Name, enter a name for the profile.
For VPN Configuration File, browse to the configuration file that you received from your Client VPN administrator. Choose Open.
Choose Add Profile.
In the AWS VPN Client window, ensure that your profile is selected and then choose Connect. If the Client VPN endpoint has been configured to use credential-based authentication, you'll be prompted to enter a user name and password.
To view statistics for your connection, choose Connection, Show Details.
To disconnect, in the AWS VPN Client window, choose Disconnect. Alternatively, choose the client icon on the menu bar, and then choose Disconnect <your-profile-name>.